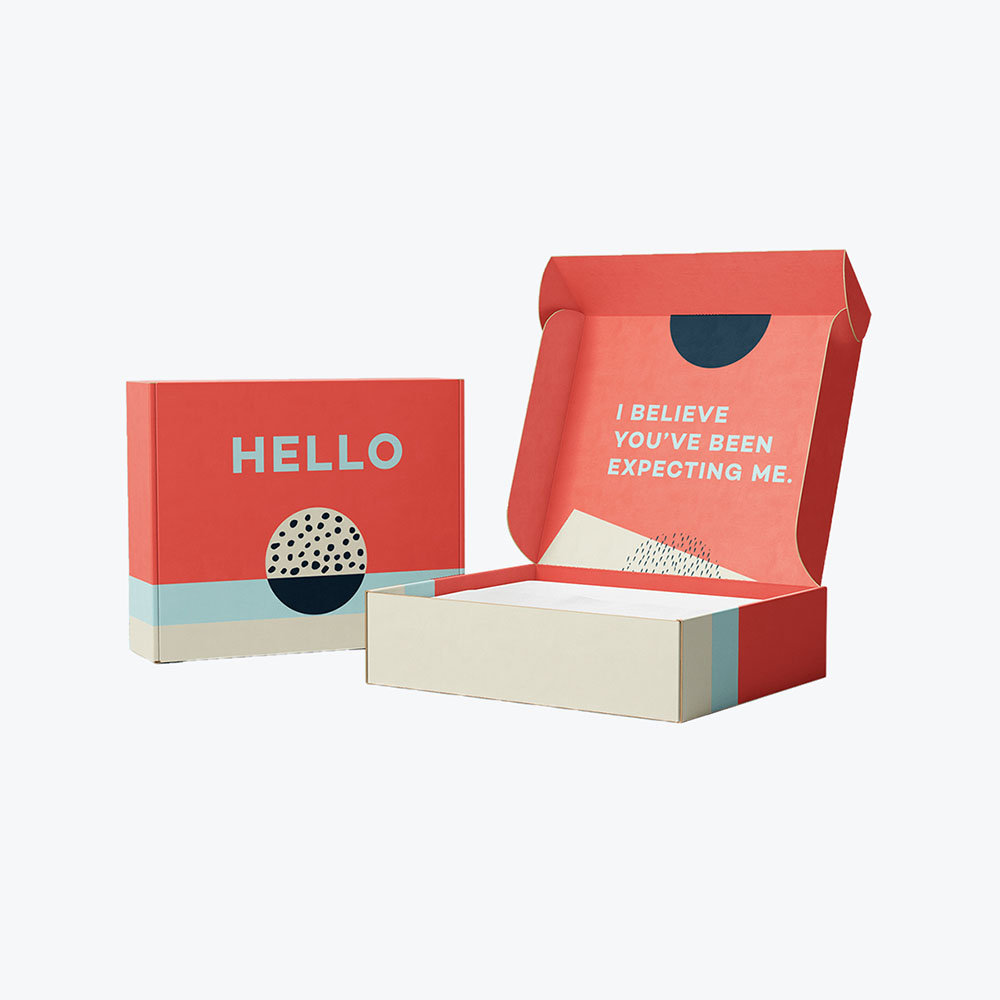
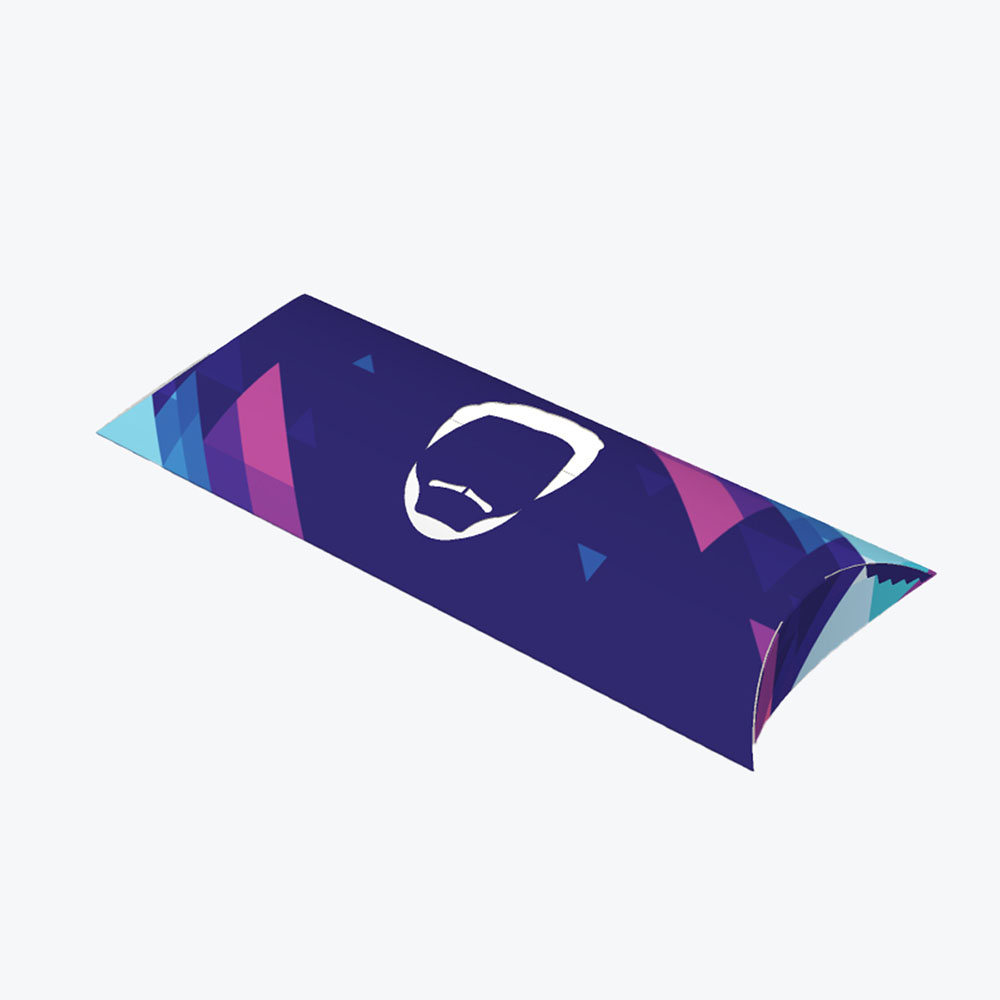
Mailer boxes: These are about the size of document envelopes, but thicker. They’re commonly used for subscription boxes, like these goody boxes for dogs and cats from Chewy.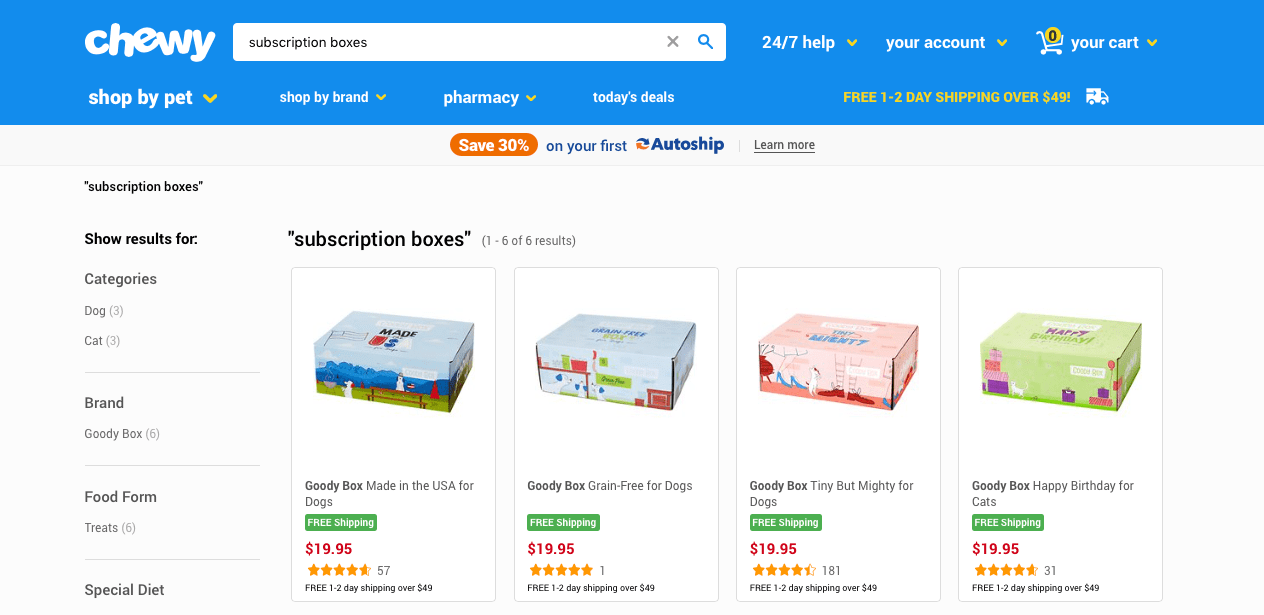
- Custom mailers: These are flexible traditional mailing envelopes without padding. You’ve probably received everything from stationery to clothing in one of these.
- Rigid envelopes: Ever order photographs online? They probably arrived in one of these envelopes since they prevent flat items from bending. Yeah, a creased photo never looks good.
Pick Your Size
Telling your company story is an awesome benefit of custom packaging, but let’s not get too far ahead of ourselves.
You can’t forget the practical side of the packaging.
Ultimately your packaging needs to securely fit whatever it is you’re shipping. Choosing the proper size box for your items is essential.
Since shipping costs are determined by weight and volume, it’s important not to pay extra to ship an oversized box filled with air. USPS uses the following formula to come up with shipping costs: length x width x height divided by 1728 = cubic rate.
Now imagine if you’re consistently using boxes that are several inches too long for your products. If you only ship out a few orders, you might not care. But paying a few dollars more in shipping costs on every order is going to add up fast.
So play around with different size boxes to get better rates.
You’ll be surprised that by shaving off even an inch here or there can be parlayed into big savings. And don’t limit yourself into thinking a box is your only option. If you ship lightweight items, consider a mailer.
According to the USPS’s website, first class is the way to go if you’re shipping something under 13 ounces. It’ll get there fast too – within 1-3 business days.
 The proper sized box will also make sure you deliver your goods intact. If your items are swimming in a large box there’s a good chance they’ll arrive at their destination in pieces.
Create Your Design
Alright, now back to the fun stuff.
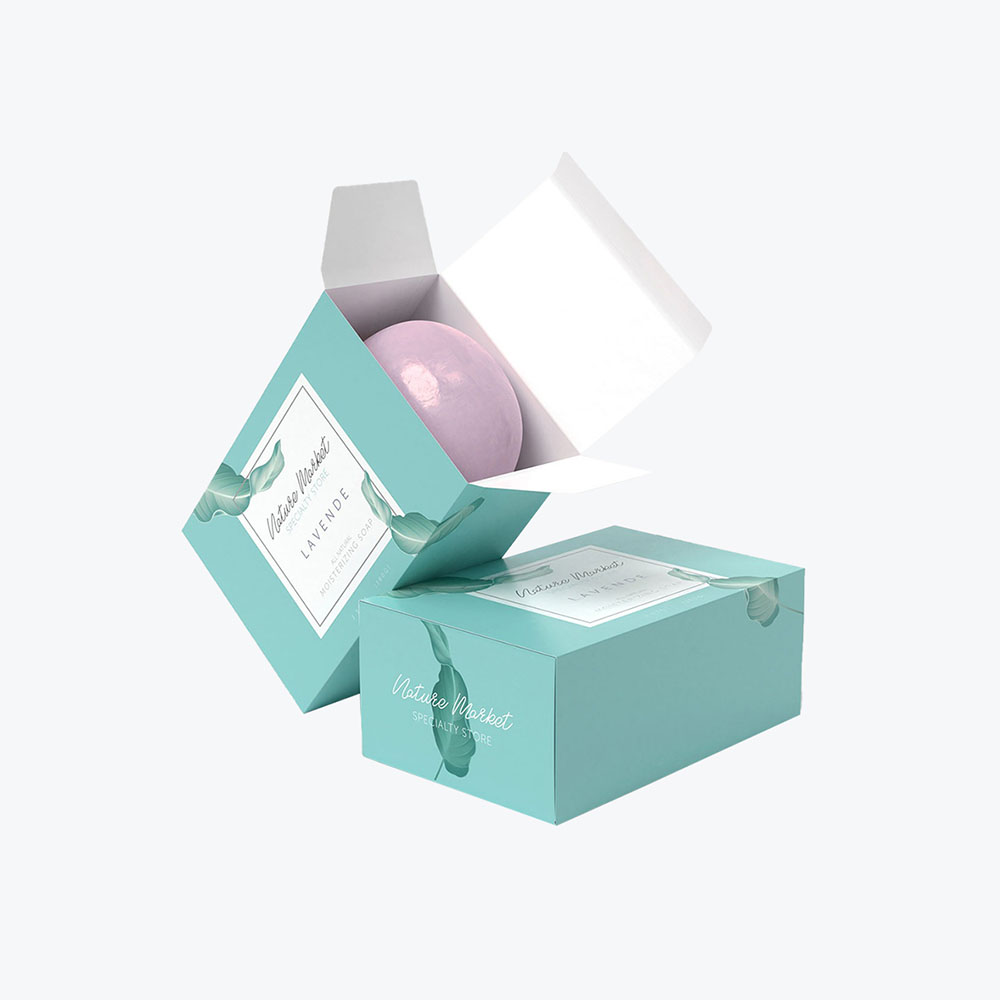
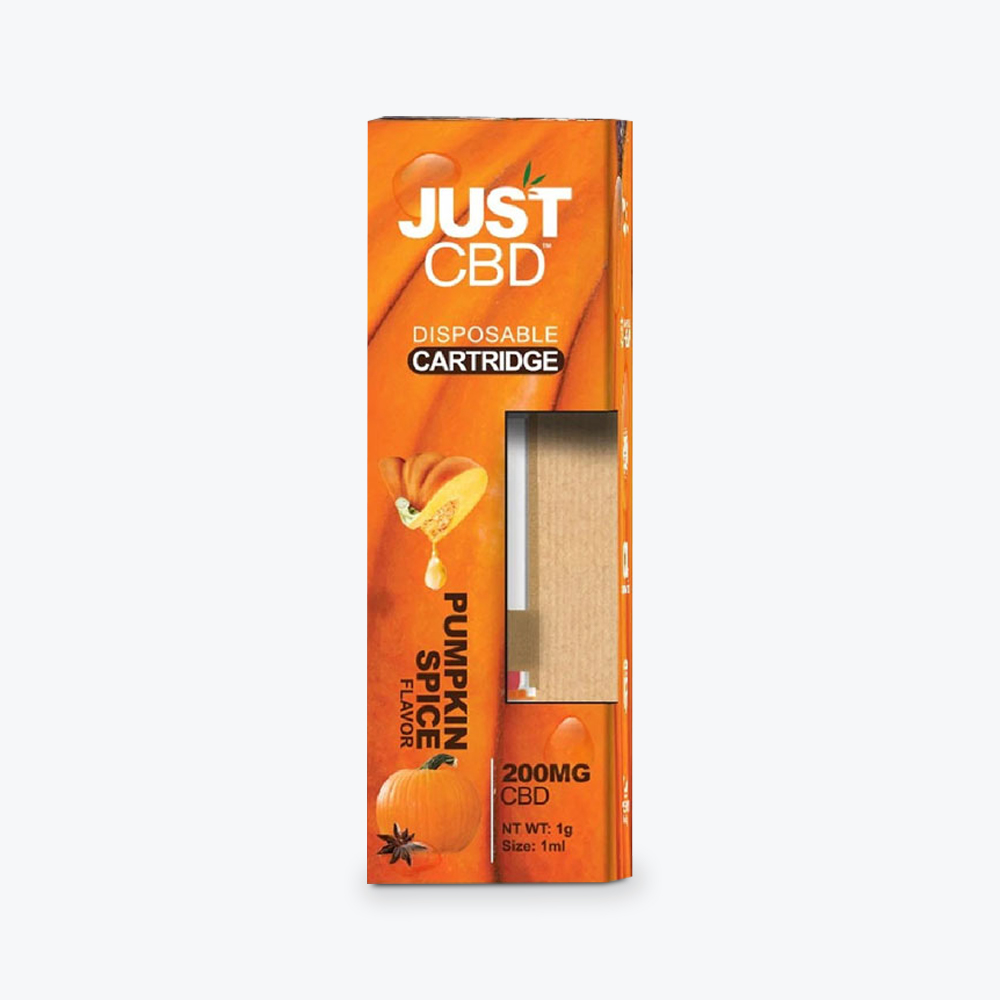
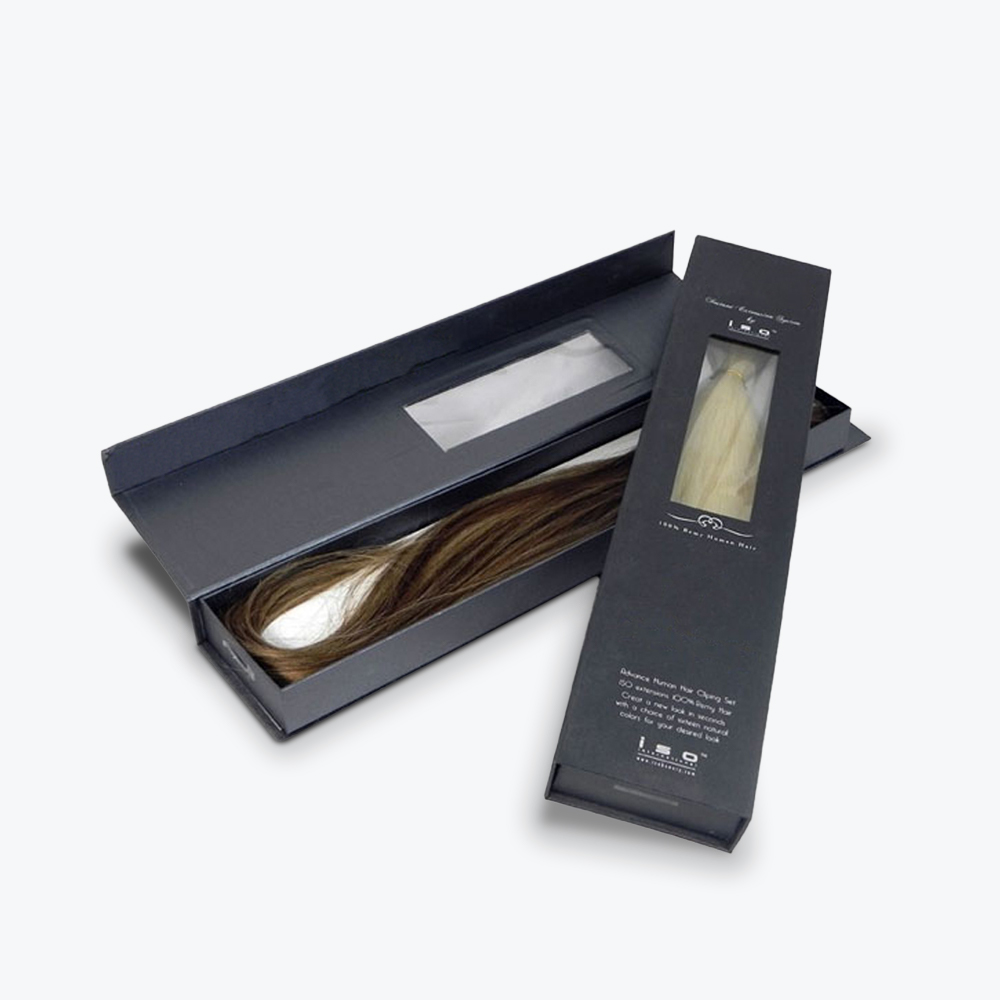
The design is where you can let your creativity shine and show off what makes you so unique. A powerful packaging design will make you more memorable and help build up your brand’s reputation.
Nowadays, just about anyone can find a designer that will fit within their budget.
There are plenty of free online design tools, such as Canva to get you started. If you’re willing to spend a little more, Logojoy has varying price points to come up with a logo and offers tons of inspiration. If you already have a little desktop publishing know-how, InDesign is an extremely powerful design tool.
Perhaps design really isn’t your thing.
Well, don’t worry, there are plenty of options to outsource this important job.
Creating a design for your packaging is more than just a logo. You want to incorporate all of your branding elements into your packaging, including colors (keep it simple with just a few), and things like social media URLs or calls to action.
After you have your design set, it’s a good idea to order a sample box.
Having a prototype will make it easy for you to spot any mistakes or clashing elements, so you can make changes before you place a giant order. Plus, you can even use your sample box for product photos, to get a jump on this marketing opportunity.
Get Those Boxes Ordered
Great. So you’ve done your research, studied inspirational designs, and come up with an envy-inducing design. Now, it’s time to place your order.
This is going to involve a little more research.
You’ll need to familiarize yourself with some new terms, such as:
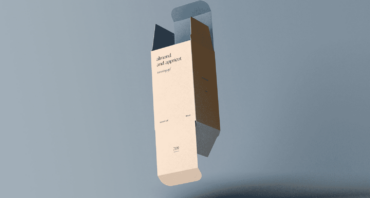
- Dieline: A dieline is a template to make sure you have the correct layout for the final physical package. It has marks that show the folds and cut lines of the package in flattened form.
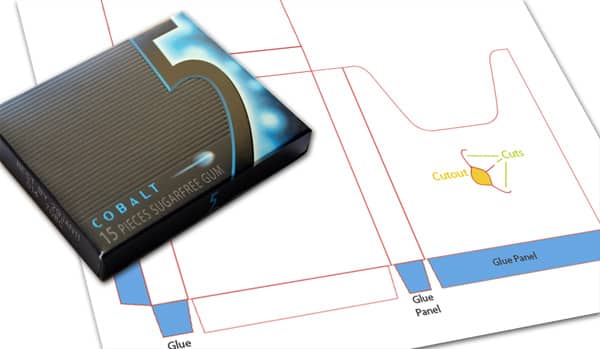
- Cutting dies: These are based on your dieline template and do the actual cutting and creasing of the cardboard substrate.
- Printing plates: These transfer your design onto a material.
- Flute size: This refers to the thickness of the cardboard substrate. Some sizes are easier to print on than others.
- Tooling charges: This is the price you pay for your cutting dies and printing plates, which are necessary with custom boxes.
Before committing to a large order, take some time to decide on a printer for your boxes. The cheapest option isn’t always the best.
You’ll also want to consider things like:
- Where the printer is located: If they’re nearby, that’ll reduce shipping costs.
- Turnaround time: You don’t want to twiddle your thumbs and delay shipping your goods because you’re waiting for your boxes to arrive.
- Box and ink quality: You want the finished product to look professional.
- Should you go with a digital printer: This option is more expensive, but allows for small minimum orders. If you’re ordering fewer than 1,000 boxes, this is probably the way to go.
And no matter what printer you choose – always get a price quote, so you aren’t stuck with unexpected charges.
You probably want to know how much you should spend on your boxes. There’s no hard and fast rule, but many suggest aiming for under two dollars a box. But obviously, this will depend on what you’re shipping.
Conclusion
See, coming up with custom boxes isn’t so difficult.
And the payoff can be amazing.
So go ahead and send out your beautiful packaging to the world, sit back, and let it do its marketing magic.








.svg)
Share